Your first model
In this tutorial you will model a tiny library catalog: authors write books, and each book has exactly one author. It takes about fifteen minutes and needs no PostgreSQL server until the last (optional) step. Read Concepts first if some of the words below are new.
1. Create the model
Press Ctrl + N (Command + N on macOS) or click the  icon at the top-left corner of the main window. A blank model opens in the design view, with the canvas in the middle. Save it right away with
 Ctrl + S, giving it a name such as library.dbm.
2. Create the table author
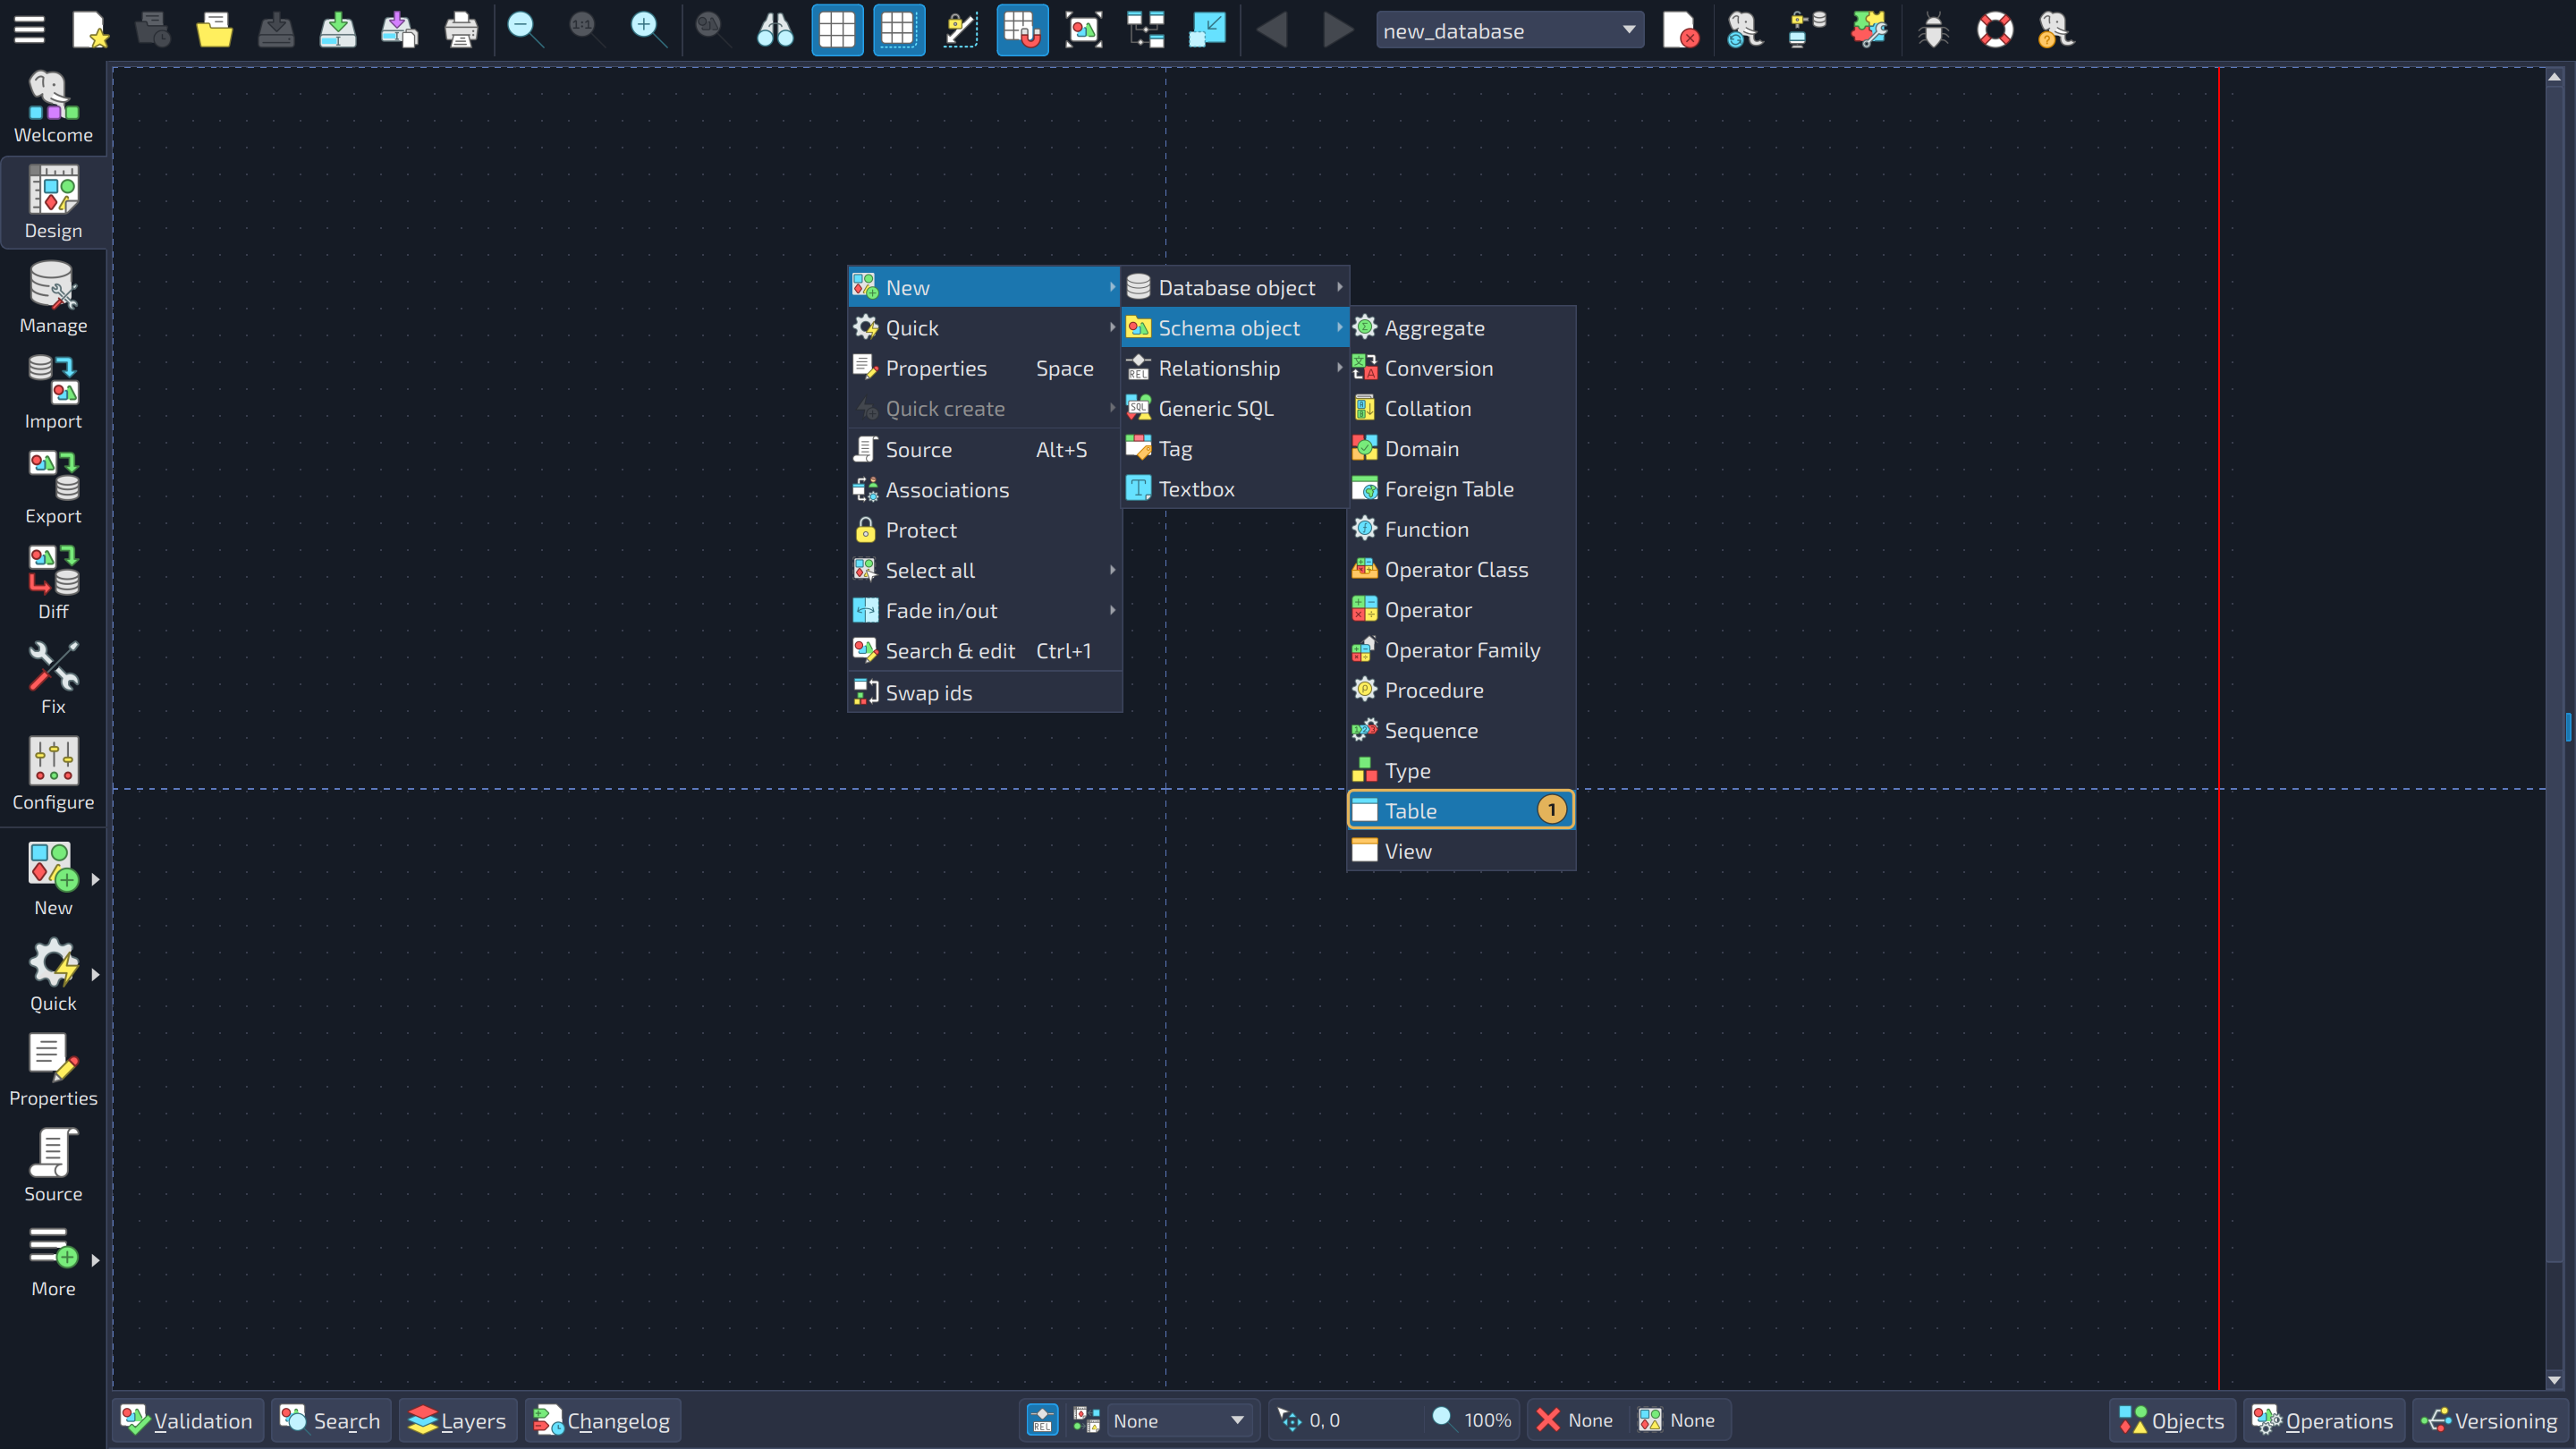
Right-click an empty area of the canvas and choose New, then Schema object, then Table. (The tables live inside a schema, and the new model already has the schema public.)
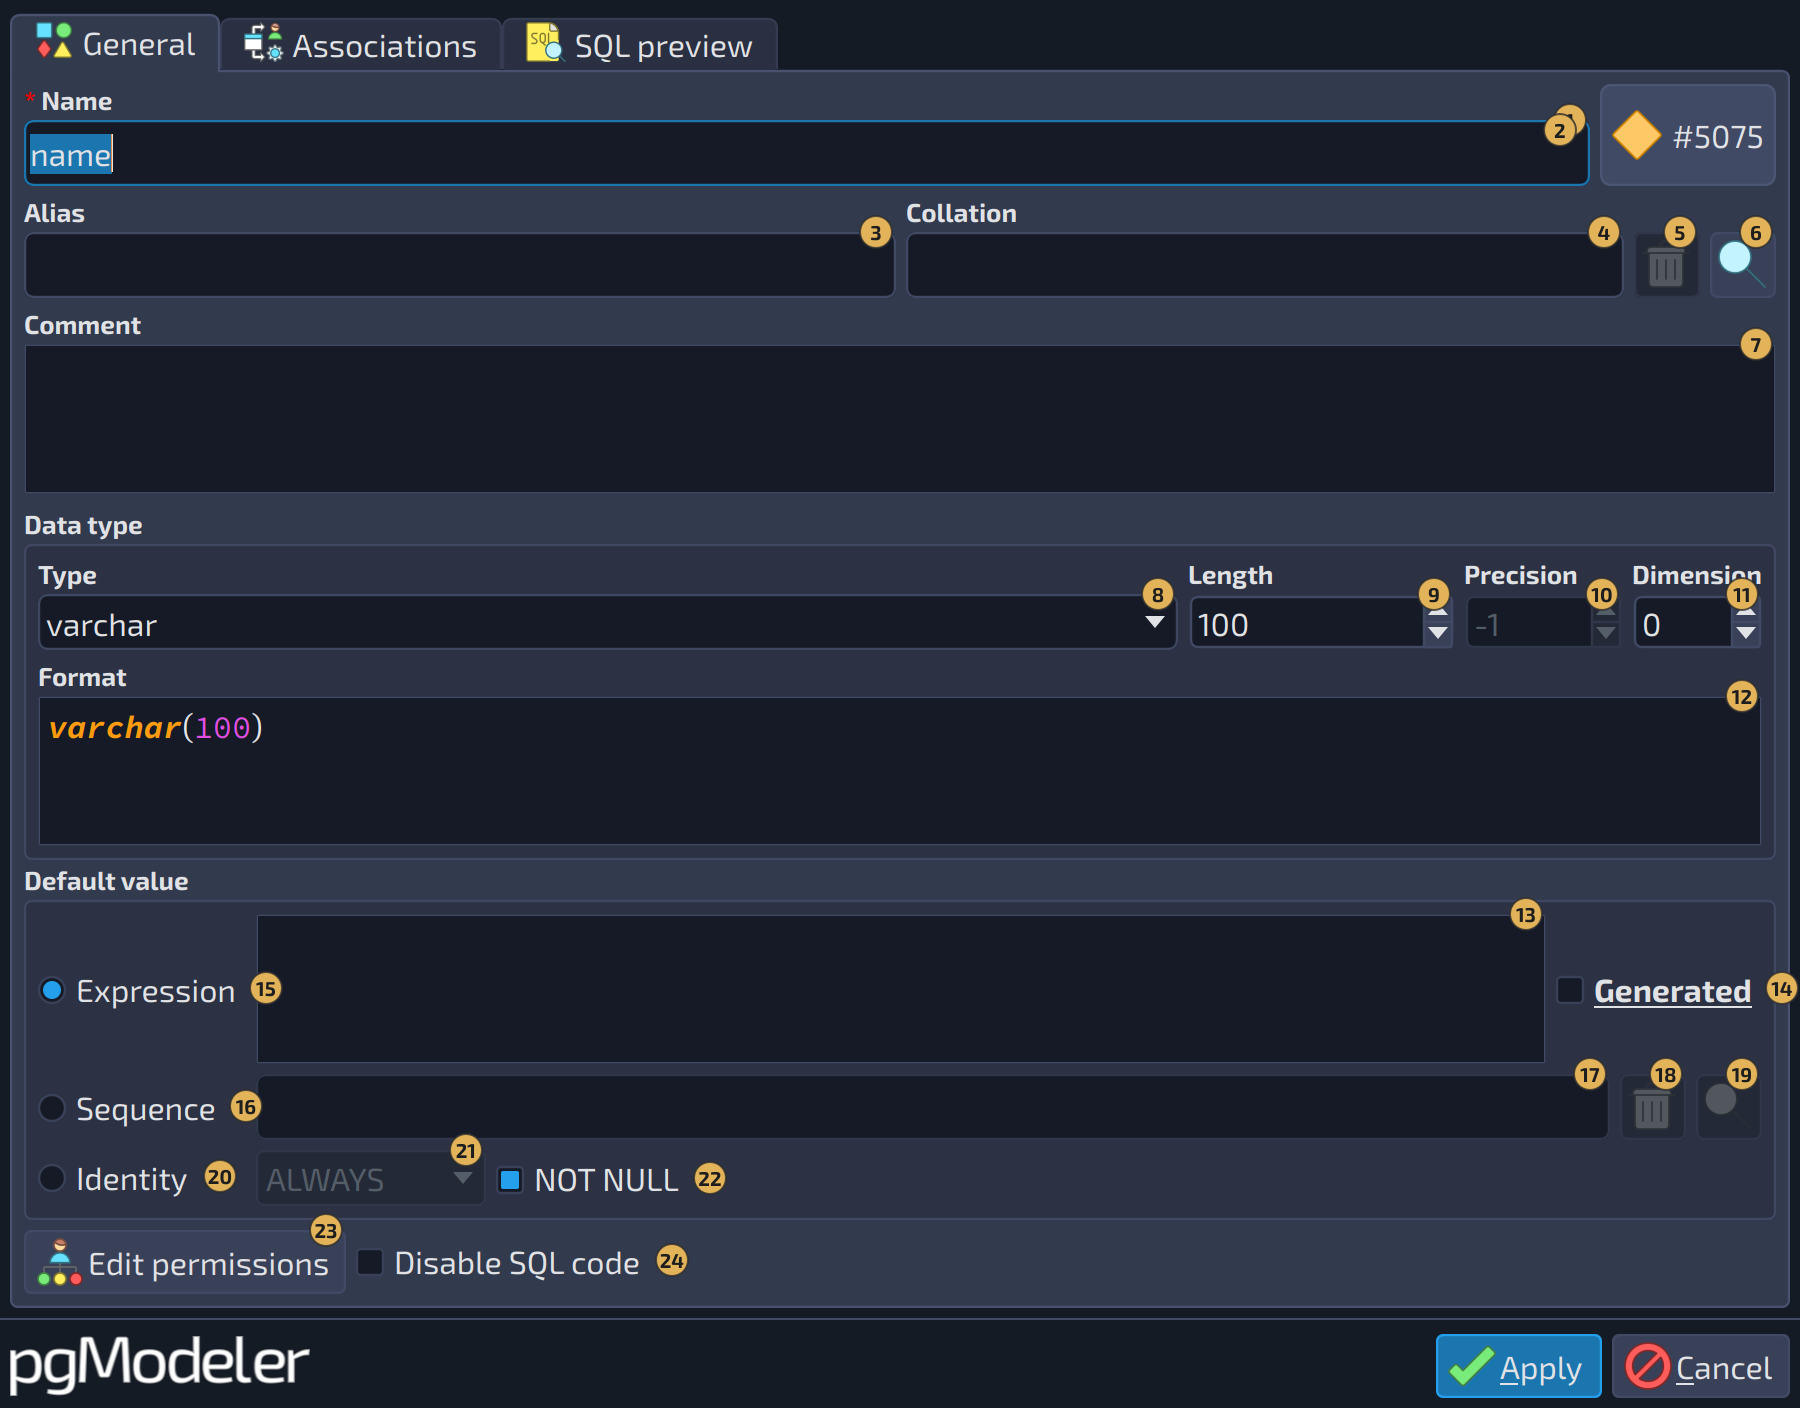
The table editing form opens. In the General tab, type author in the Name field. Go to the Columns tab and use Add Item (or the Ins key) to create each column: the button opens the column form, where you fill the name, choose the type and confirm it with Apply.
| Name | Type | Notes |
|---|---|---|
id | integer | in the Identity field choose ALWAYS (or BY DEFAULT) so PostgreSQL generates the values |
name | varchar(100) | check NOT NULL |
Back in the grid of columns, tick the PK box of id: this makes it the primary key of the table (the same thing can be done in the Constraints tab, where the fields are described in Constraints).
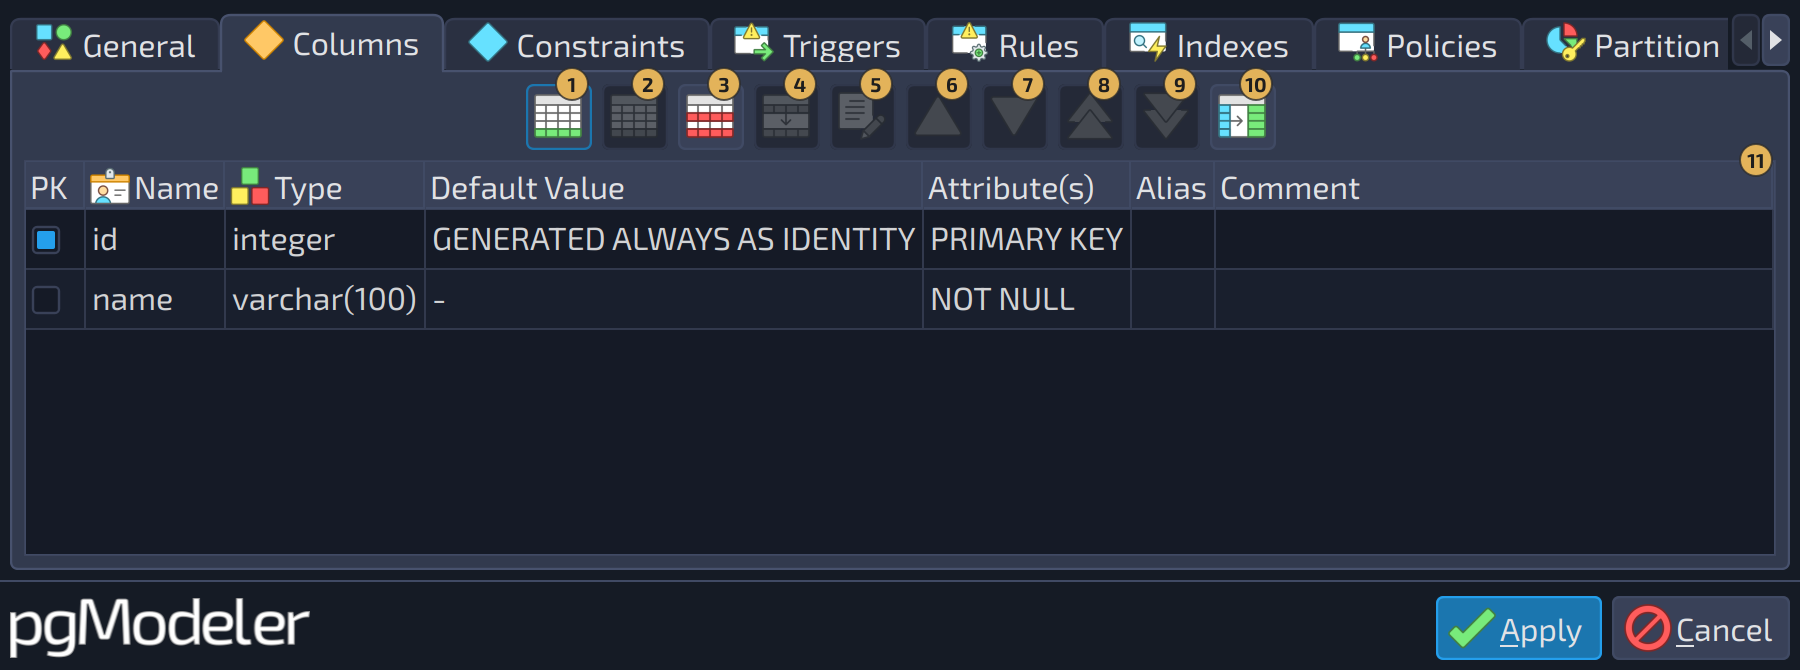
Click Apply to create the table. It appears on the canvas, and you can drag it anywhere.
The type field accepts typing: write varchar, press the arrow keys and Enter. See Data type field for the details.
3. Create the table book
Repeat the previous step for a table named book, with these columns:
| Name | Type | Notes |
|---|---|---|
id | integer | identity, as in author; tick its PK box |
title | varchar(200) | check NOT NULL |
Do not create a column for the author in book: pgModeler will create it for you in the next step.
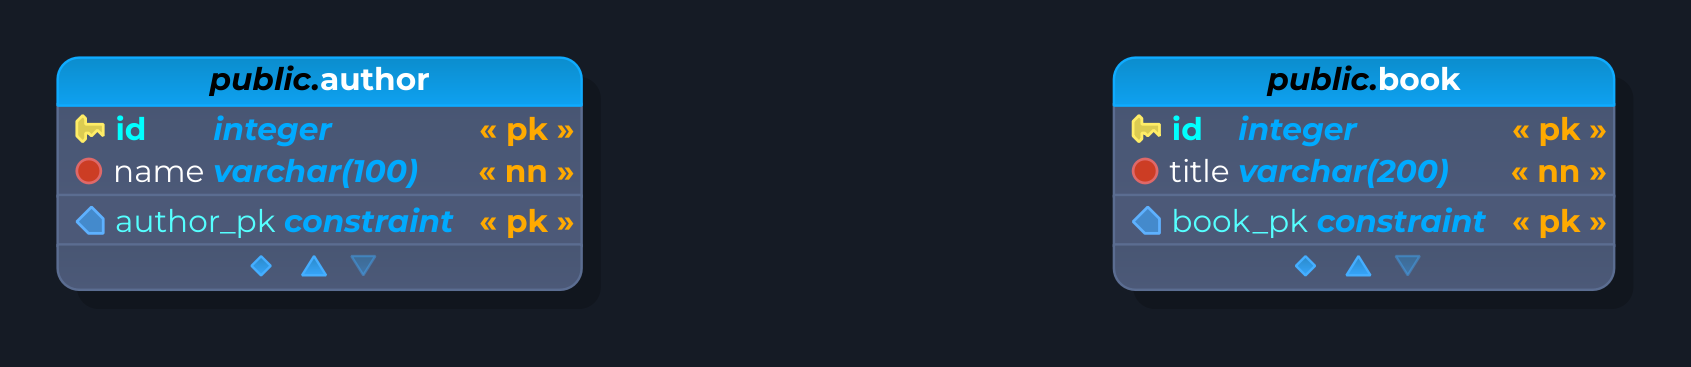
With both tables created, the canvas looks like this:
4. Link the tables with a relationship
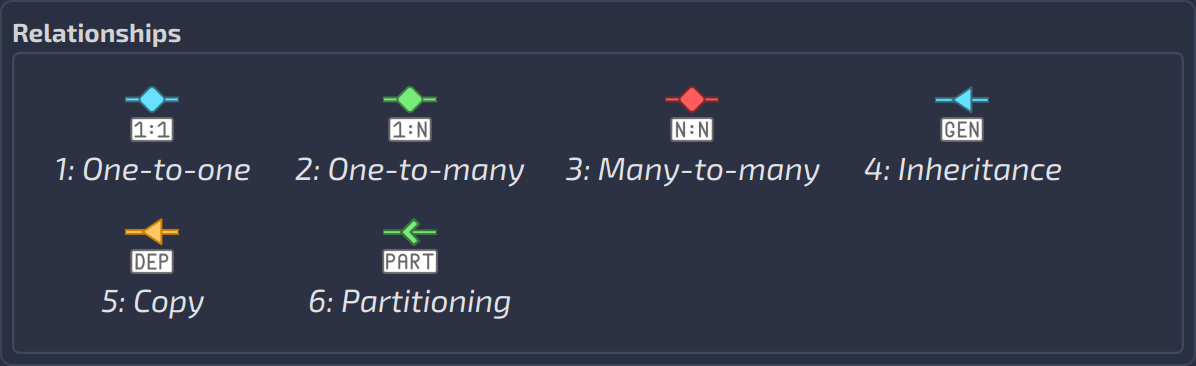
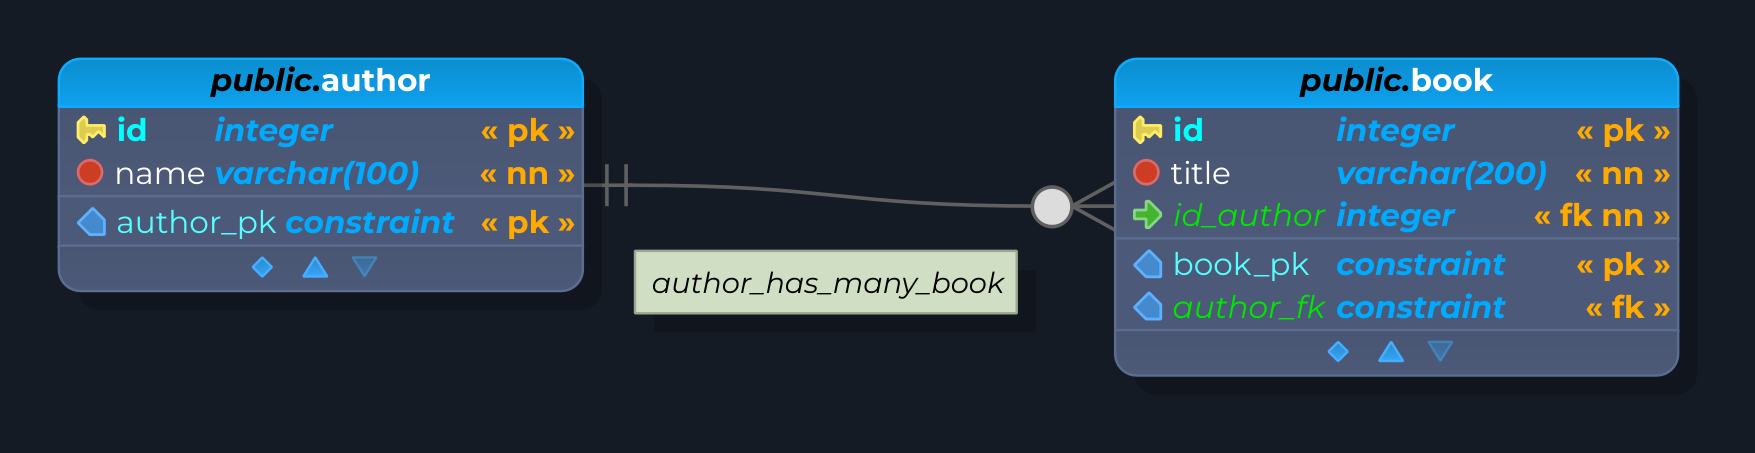
A book has one author, and an author can have many books: this is a one-to-many relationship (1:n) from author to book.
Select author first and then book while holding Ctrl, press N to bring up the new object overlay and choose the one-to-many relationship (1:n) in the overlay. The order of the selection matters: the first table is the "one" side, and the foreign key is created in the second.
A line connects the two tables, and a new column, id_author, appears in book, written in green and italic, together with the constraint author_fk: they are the foreign key, created by the relationship. This is the column propagation described in Relationships.
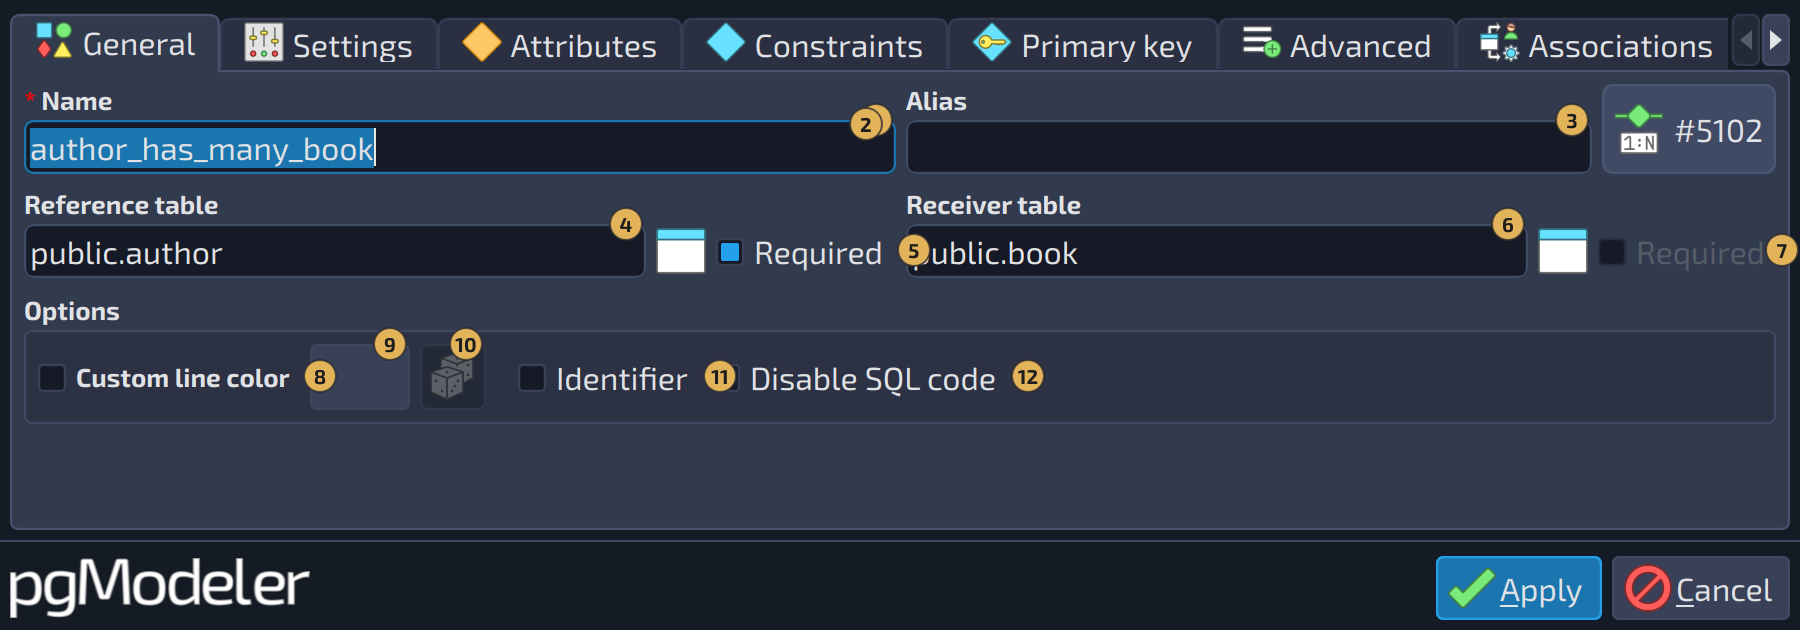
Double-click the relationship line to open its form (shown below). The Required options of the two tables define the cardinality: whether an item needs to have a counterpart (a book that must have an author, for instance) or not, which changes how the foreign key is generated. Leave the defaults for now.
5. Validate the model
Open the validation widget with Alt + V and click Validate. A model like this one should pass without errors; if something is reported, pgModeler describes it and, in most cases, can fix it with the Apply fixes button.
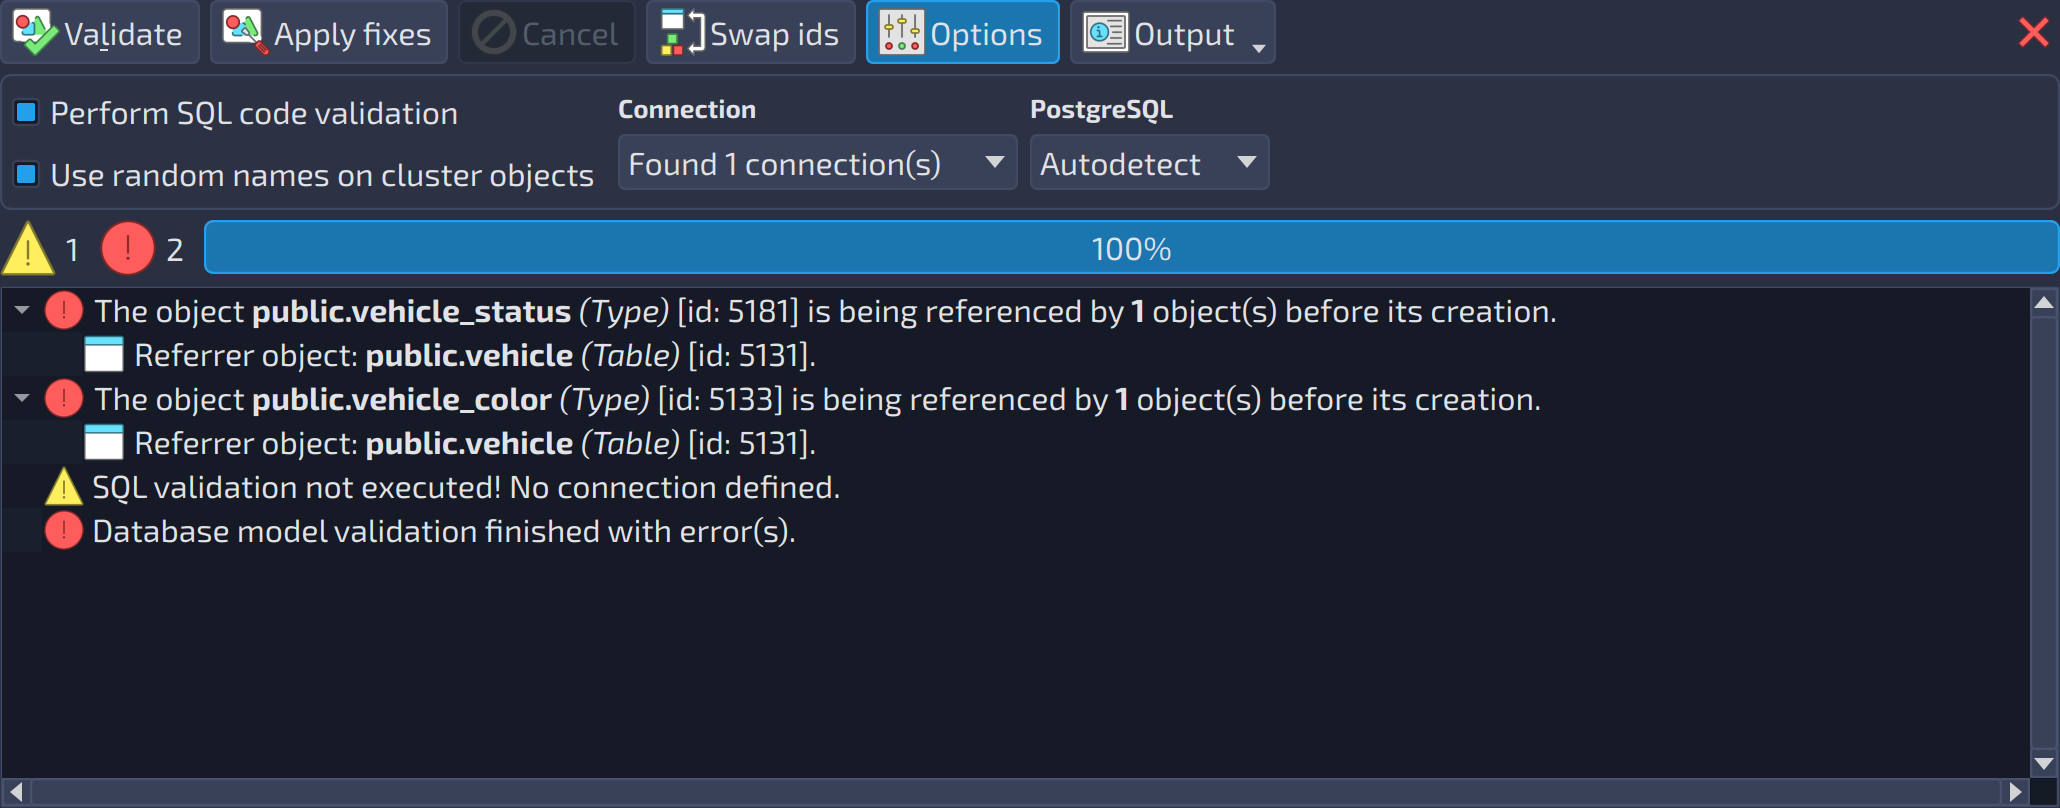 1234567891011
| Model validation | ||
|---|---|---|
| # | Field | Description |
| 1 | Validate | Starts a new validation process on the currently open model. |
| 2 | Apply fixes | Lets pgModeler apply automatic fixes to all the problematic objects listed in the output. After the fixes are applied, the validation process is triggered again when errors are still listed. |
| 3 | Cancel | Aborts a running validation process. Aborting the validation does not restore the initial state of the model, because the validation can happen in the middle of the automatic fix process. |
| 4 | Swap ids | Opens the dialog used to swap the IDs (creation order) of two objects. Generally, there is no need to use this dialog, except when you know that an object must be created before another; in that case, this tool helps to avoid errors. |
| 5 | Options | Shows or hides the SQL validation options. |
| 6 | Output | Output |
| 7 | Perform SQL code validation | Enables the validation of the SQL code in the DBMS. This process requires a pre-configured connection. The SQL validation occurs only in the last step (when all the objects have been validated) or when there are no warnings. |
| 8 | Use random names on cluster objects | pgModeler generates unique and temporary names for the database, role, and tablespace objects (cluster-level objects). This option avoids duplicated object errors when running the SQL validation. |
| 9 | Connection | The connection used in the SQL validation. |
| 10 | PostgreSQL | The PostgreSQL version used to generate the SQL code that is validated. |
| 11 | Validation output | Lists the information, warnings, and errors found by the validation. |
 : opens a menu with two actions that handle the output of the validation.
 Get used to validating before saving and before exporting. Model validation lists everything that is checked.
6. See the SQL
Select the table book and press Alt + S. The source code preview shows the SQL that creates the table, including the foreign key to author generated by the relationship.
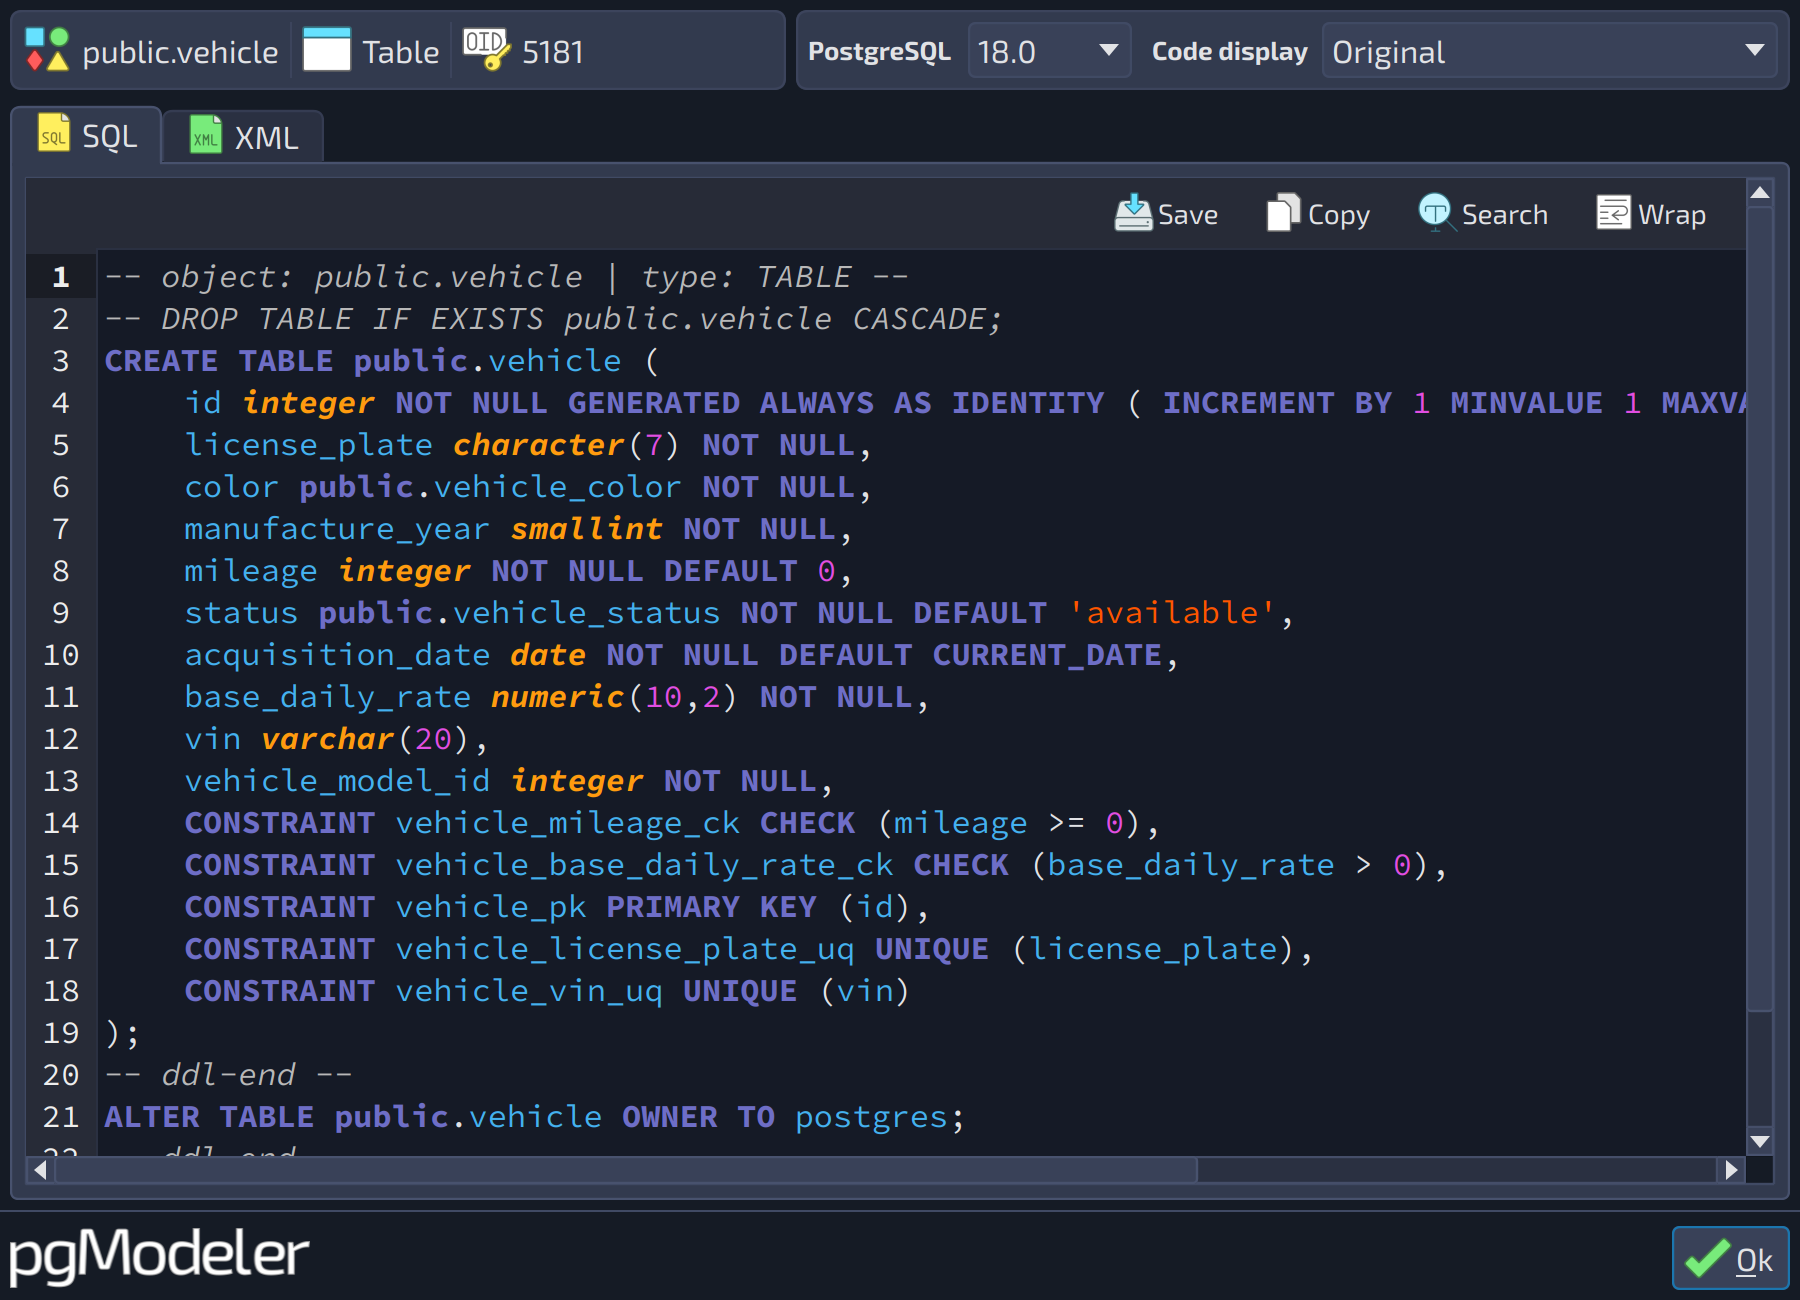 123
123
| Source code preview | ||
|---|---|---|
| # | Field | Description |
| 1 | PostgreSQL | The PostgreSQL version in which the source code is generated. The SQL tab is updated automatically whenever the value of this field changes. Changing this field only affects the generation of the SQL code. |
| 2 | Code display | Changes how the code is generated for some kinds of objects. |
| 3 | Source code | The source code of the selected object(s), generated for the chosen PostgreSQL version and code display mode. |
Press Ctrl + S to save. The model file is plain XML and can be versioned like any other source file.
7. Optional: send it to a server
To turn the model into a real database, follow From model to database.
Where to go from here
- Add an index on
book.title, or a check constraint: see Indexes and Constraints. - Try a many-to-many relationship between
bookand a new tablegenre, and look at the table that pgModeler creates for it. - Learn the moves that make modeling faster in Essential shortcuts.